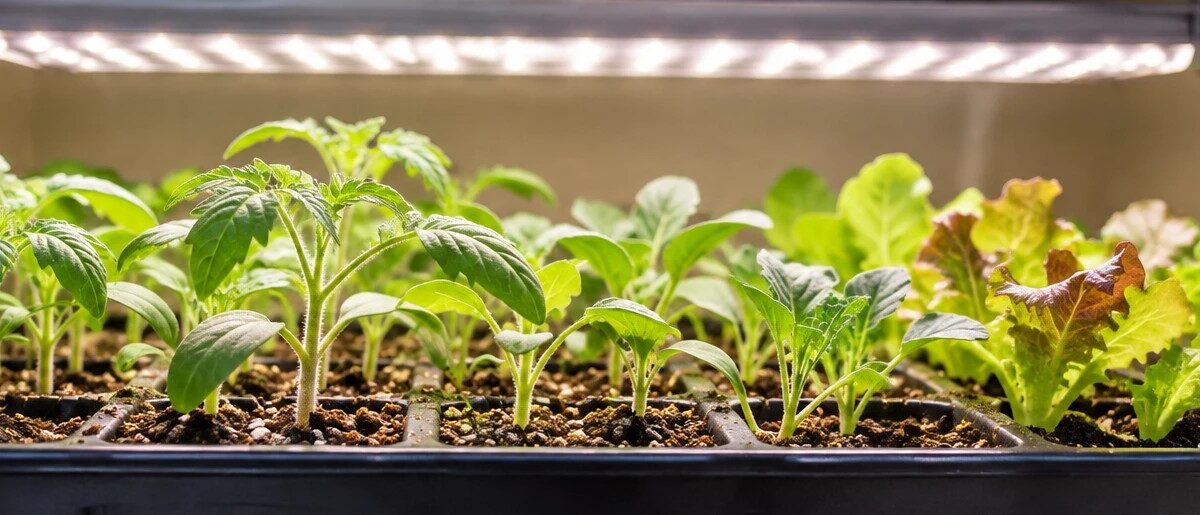
If you’ve worked through our beginner’s guide to starting a vegetable garden, you may remember that warm-season crops like tomatoes and peppers can be started from seed indoors several weeks before your last frost date. As University of Minnesota Extension puts it, “many long-season vegetables must be started indoors in early spring.” Starting seeds indoors gives those plants a head start, so they’re ready to move outside once the weather cooperates.
It’s also less expensive than it might sound. UMN Extension calls indoor seed starting “a relatively inexpensive way to grow a wide variety of plants.” This guide walks through the whole process — which crops to start, when, in what, under how much light, and how to get seedlings ready for the garden — based on what university Extension programs recommend. Where different universities give different numbers, we show each one rather than blending them into a single figure.
Which Vegetables Are Worth Starting Indoors
Not every vegetable benefits from an indoor start. Some transplant poorly and do better sown straight into the garden.
Clemson Cooperative Extension’s Home & Garden Information Center (HGIC) is direct about this: “Beans, corn, and carrots do not do well as transplants and should be planted directly from seed into the garden.”
On the other side of the list, Clemson names broccoli, cabbage, kale, tomatoes, peppers, eggplant, lettuce, onions, and sweet potatoes as crops suited to transplanting. University of Minnesota Extension notes that in Minnesota, “annual flowers and heat-loving vegetables such as tomato, pepper and eggplant are usually started in early spring.”
A practical way to sort your seed packets, based on those lists:
- Good candidates for starting indoors: tomatoes, peppers, eggplant, broccoli, cabbage, kale, lettuce, and onions.
- Sow directly outdoors: beans, corn, and carrots.
- Short indoor start if you choose to: Clemson lists squash, cucumbers, and melons with a shorter indoor period than most other crops (see the timing table below).
When to Start Your Seeds
Aaron Steil, consumer horticulture specialist at Iowa State University Extension and Outreach, has a simple warning for eager seed starters: “Don’t sow your seeds too early!”
As a general rule, Iowa State says that “most annuals and vegetables grown from seed need to be planted indoors 6 to 8 weeks before transplanting in the garden.” The hardening-off period (covered below) adds time on top of that: “Don’t forget to add a week or two for hardening off.”
Individual crops vary, and so do the universities’ recommendations. Clemson HGIC breaks the indoor growing time down by crop:
| Crop (Clemson HGIC) | Weeks from sowing to transplanting |
|---|---|
| Squash, cucumbers, melons | 3–5 weeks |
| Broccoli, Brussels sprouts, cabbage, cauliflower, collards, kale | 5–7 weeks |
| Lettuce | 5–7 weeks |
| Tomatoes, eggplant | 6–8 weeks |
| Peppers | 8–10 weeks |
A Note on Tomatoes
If tomatoes are your main reason for starting seeds indoors, University of Minnesota Extension’s planting table lists 5 to 6 weeks as how long to keep tomatoes indoors. That figure is specific to tomatoes — don’t apply it to other crops.
You’ll see somewhat different numbers from other Extension programs (including Clemson’s table above), and they don’t all measure the indoor period the same way. Treat 5 to 6 weeks as a starting point, then check your seed packet and your local Extension office for your variety and region.
Count Backward From Your Planting Date
To turn those numbers into a calendar date, start from when you plan to move the plants outside, then count backward.
- Find your average last spring frost date. Your local Extension office is the most reliable source for this. Note that this is not the same thing as your USDA hardiness zone — your zone describes winter low temperatures, not when frost ends in spring. (We explain the difference in our guide to USDA hardiness zones.)
- Decide when each crop goes outside. Warm-season crops like tomatoes and peppers go out after the danger of frost has passed. Cool-season crops are more flexible: Iowa State notes they “can be planted outside several weeks before the last expected frost date, as they tolerate late freezes.”
- Subtract the indoor growing time for that crop, plus one to two weeks for hardening off.
- Check the seed packet. Iowa State’s seed-starting guide advises you to “consult the package to determine how early to start the seed indoors.”
Writing your sowing dates on a calendar before you start is a simple way to avoid sowing too early. For a crop-by-crop walkthrough, including how to read frost-date probabilities, see when to start seeds indoors.
Containers and Seed-Starting Mix
Containers
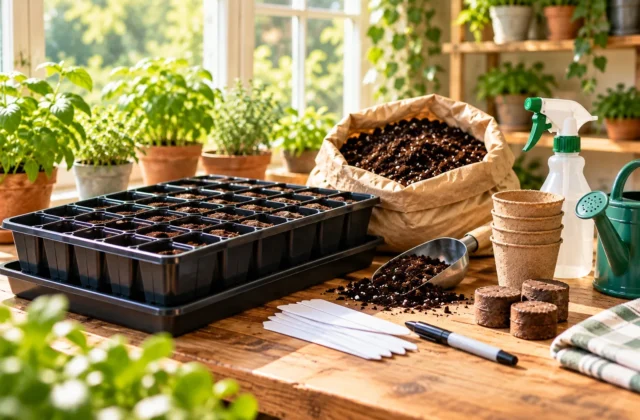
You can start seeds in purpose-made cell trays, small pots, or recycled containers. A few guidelines apply to all of them:
- Drainage: University of Minnesota Extension says that “all seed-starting containers must have drainage holes at the bottom.”
- Depth: University of Maryland Extension recommends containers at least 2 inches deep.
- One seedling per cell: UMN notes that “it’s best to use divided containers with a single seedling per container.”
- Clean containers: If you’re reusing trays or pots, UMN recommends disinfecting them first. Follow the disinfectant product’s label directions, and rinse the containers before you use them. Iowa State’s guide also lists clean materials among its basic seed-starting tips.
Seed-Starting Mix (Not Garden Soil)
Seedlings do better in a mix made for the job than in soil scooped from the garden. University of Minnesota Extension describes commercial seed-starting mixes as “usually composed of peat and vermiculite, without any true soil,” and points out that “they’re sterile, lightweight and free from weed seeds.”
That matters because of damping-off, which UMN defines as “the death of tiny seedlings due to pathogens at the surface of the potting mix.” Clemson HGIC explains that “soilless mixtures reduce soil-borne diseases such as damping-off (Pythium species), which will infect and kill the seedlings.”
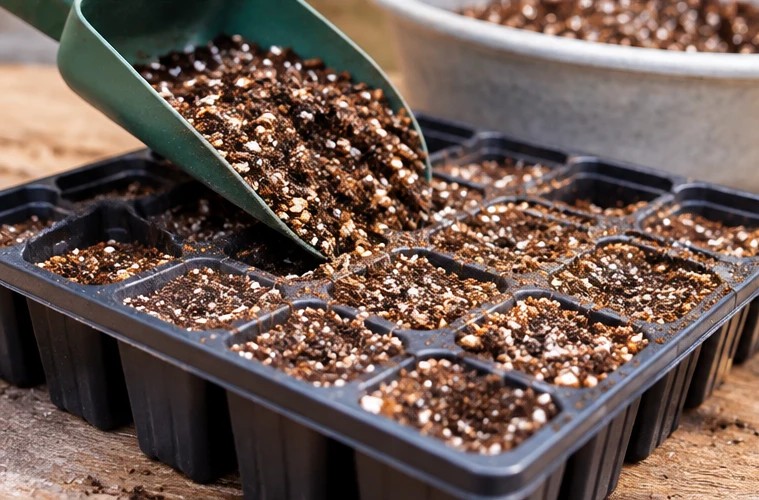
If you’re still deciding what to buy, including which containers and extras are worth it and which you can skip or reuse, see our seed starting supplies checklist.
Sowing: Depth, Warmth, and Moisture
How Deep to Plant
Follow the seed packet for each variety. When you’re unsure, University of Minnesota Extension offers a rule of thumb: “plant a seed two times as deep as its width.”
How many seeds per cell? UMN’s guidance is that “when using older seeds with lower germination rates, plant two or more seeds per cell.” If more than one sprouts, you’ll thin to a single seedling later (see below).
Keep the Growing Medium Warm
Warmth helps germination. According to University of Minnesota Extension, “seeds of most plants started indoors germinate sooner and produce healthier roots when the potting mix is warm.”
It helps to separate two different temperatures here:
- The growing medium (the mix in your containers): University of Maryland Extension gives 65 to 75°F as a general target range for the medium during germination. Treat it as a general guide — if your seed packet gives a specific germination temperature for that crop, follow the packet.
- The air in the room: UMN advises that “air temperatures should be kept above 60°F,” and adds that the mix in indoor containers can be as much as 5°F cooler than the surrounding air. A room that feels warm enough may still leave the mix on the cool side.
Bottom heat — warmth applied from underneath the containers — is one way to keep the mix in range. UMN notes that “bottom heat can help to prevent damping off.”
Keep It Moist (but Not Soggy)
UMN’s advice is to “keep the potting mix moist while the seeds are germinating.” Iowa State adds two related tips: “Raise the humidity during germination” and “Do not over or under water.”
Light: The Step Most Beginners Underestimate
Once seeds sprout, they need strong light. University of Minnesota Extension is clear on this: “It’s much better to grow seedlings under fluorescent or LED lights.”
How Close Should the Lights Be?
The key is keeping the lights close to the plants. The recommended distance varies by source:
- University of Minnesota Extension: “Keep lights no more than 4 inches above the tops of your seedlings: as close as 2 inches is ideal.”
- Clemson HGIC: 2 to 4 inches, with the lights “raised to maintain a 2 to 4-inch gap between the light and plants as the transplants grow.”
- University of Maryland Extension: 2 to 6 inches above the seedlings.
Whichever range you follow, raise the lights as the seedlings grow so the gap stays consistent.
How Many Hours a Day?
Here, too, the universities give different ranges:
- University of Minnesota Extension: “Plants need 12 to 16 hours of light daily.”
- University of Maryland Extension: 14 to 16 hours a day.
- Clemson HGIC: transplants “need 16-18 hours of bright light (natural and artificial) to produce stocky seedlings.”
Sixteen hours is the one figure that falls within all three ranges. An outlet timer makes it easy to keep the schedule consistent.
Don’t run the lights around the clock, though. UMN cautions: “Don’t leave the lights on continuously, as many plants need some dark period each night to develop properly.”
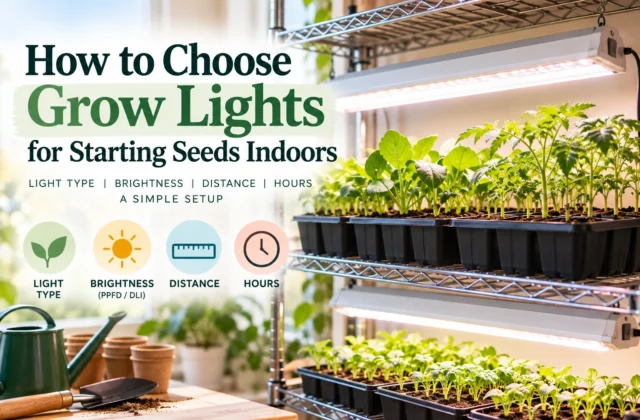
For help choosing a fixture, including why LED and fluorescent lights hang at different heights and what the numbers on the box mean, see our guide on how to choose grow lights for starting seeds indoors.
Caring for Seedlings After They Sprout
Thin to One Seedling per Cell
If more than one seed sprouts in a cell, keep the strongest. University of Minnesota Extension recommends that “once the seedlings have developed true leaves, cut all but the healthiest one off at ground level with scissors.” It specifically warns: “Avoid separating or pulling the unwanted seedlings, as this could damage the roots of the ones you want to keep.”
Feed Lightly
UMN advises that “seedlings grown in a soilless mix will benefit from a weak general-purpose water-soluble fertilizer mixed at 1/4 strength,” and to “fertilize only once a week.”
Add a Gentle Breeze
Clemson HGIC recommends that “when plants have two true leaves, a fan should be placed near the seedlings to produce a gentle sway.”
Pot Up if Needed
If seedlings outgrow their cells before it’s time to go outside, UMN recommends that you “transplant seedlings that outgrow cell packs into containers that are 1 to 2 inches wider in diameter than the cell packs.”
Hardening Off: Getting Seedlings Ready for the Garden
Hardening off is the gradual process of getting indoor-grown seedlings used to outdoor conditions — sun, wind, and cooler temperatures — before they’re planted in the garden.
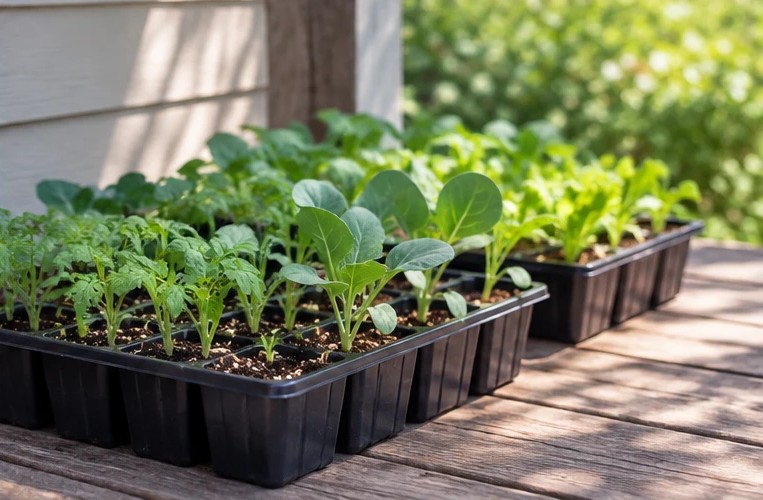
The method is similar across sources, though the recommended length varies:
- University of Minnesota Extension (two weeks): “Two weeks before planting outdoors, move seedlings outside.” UMN’s steps:
- “Start by putting them outside for a few hours in the shade during the warmth of the afternoon, protected from wind.”
- “Bring them back inside before temperatures start to drop at night.”
- “Each day, leave the plants out a little longer and expose them to a little more direct sunshine.”
- By the end of two weeks, the plants can stay outside, “unless freezing temperatures are forecast.”
- Clemson HGIC (two to three weeks): “Once plants get around three inches tall, begin conditioning them to grow outdoors,” and “continue this routine for two to three weeks to condition the seedlings.”
- Iowa State (one to two weeks): build “a week or two for hardening off” into your schedule.
If you’re hardening plants off in a cold frame, UMN suggests you “vent the lid a bit farther each day to accustom the plants to wind and cold.”
Transplant Day
Clemson HGIC suggests it is “best to transplant on cool, cloudy days if possible, to avoid transplant shock.” If you’re planting into containers on a balcony, our balcony vegetable gardening guide covers pot sizes and potting mix. If you’re building a bed for your new transplants, see raised bed gardening for beginners.
Common Seed-Starting Mistakes
Most of the guidance above comes down to avoiding a handful of common missteps:
- Starting too early. Iowa State’s advice is simply “Don’t sow your seeds too early!” Count backward from your planting date, and check the seed packet.
- Lights too far away. Keep lights within the distances the Extension programs recommend (no more than 4 inches per UMN, 2 to 4 inches per Clemson, 2 to 6 inches per UMD), and raise them as the plants grow.
- Leaving the lights on 24 hours a day. UMN notes that many plants “need some dark period each night to develop properly.”
- Using garden soil. Use a sterile, soilless seed-starting mix, which Clemson notes reduces soil-borne diseases such as damping-off.
- A cold growing medium. Remember that the mix can be up to 5°F cooler than the room (UMN). UMD’s general target for the medium during germination is 65 to 75°F, unless the seed packet says otherwise.
- Watering extremes. Iowa State’s tip: “Do not over or under water.” Make sure every container has drainage holes.
- Skipping hardening off. Build one to three weeks into your schedule, depending on which guidance you follow.
Frequently Asked Questions
How many weeks before the last frost should I start seeds indoors?
It depends on the crop. Iowa State’s general rule is 6 to 8 weeks of indoor growth before transplanting, plus a week or two for hardening off. Clemson’s crop-by-crop figures range from 3 to 5 weeks for squash, cucumbers, and melons to 8 to 10 weeks for peppers. For tomatoes specifically, UMN’s planting table lists 5 to 6 weeks indoors. Always check the seed packet, too.
Do I really need grow lights?
University of Minnesota Extension says it’s “much better to grow seedlings under fluorescent or LED lights.” Keep them close — no more than 4 inches above the seedlings per UMN, or 2 to 6 inches per UMD — and on for 12 to 18 hours a day depending on which guidance you follow, with a dark period each night.
Can I use potting soil or garden soil to start seeds?
Garden soil isn’t recommended. A sterile, soilless seed-starting mix (typically peat and vermiculite) is lightweight, free of weed seeds, and reduces the risk of damping-off.
What temperature do seeds need to germinate?
University of Maryland Extension gives 65 to 75°F as a general range for the growing medium during germination. That’s the temperature of the mix, not the room — and UMN notes the mix can run up to 5°F cooler than the air. If your seed packet lists a germination temperature for that crop, follow the packet.
Getting Started
Starting vegetables from seed indoors comes down to a short list of decisions: pick the crops that benefit from it, count backward from your planting date so you don’t sow too early, use clean containers and a sterile mix, keep the medium warm and moist for germination, give seedlings close, strong light with a dark period each night, and harden them off gradually before transplanting.
If you’re planning the garden those seedlings will go into, start with our beginner’s guide to starting a vegetable garden from scratch.